
Maintaining your aquarium’s filter is an important part of keeping your equipment running smoothly, and your fish in good health. Filters which aren’t functioning properly may not be doing their job properly which could result in ammonia and nitrite in the tank water, both of which are toxic to fish. Blocked filters won’t have a good flow so may not be circulating the water fully.
Filters can be a source of confusion and worry to newcomers to the hobby, with the various fiddly bits and pieces, differing arrangements of media and the concern over not killing off your carefully cultured good bacteria. Our easy to follow guide will take you through the basics, and our short video by Jeroen Wijnands demonstrates how to disassemble, clean, reassemble and restart your filter.
How often to clean your aquarium filter
How often you should clean your filter varies between set ups. If you have a large filter, a large tank and few fish you won’t need to clean it as often as if you have a large filter, large tank and lots of big messy fish for example. Keep an eye on water tests and keep a check on the flow rate of water coming back to the aquarium. If the flow slows down it’s time to clean your filter. If water test results show anything amiss, such as ammonia or nitrite in a mature and fully cycled tank, you should check the filter is functioning properly as part of your investigations into the problem.
External filters tend to require less maintenance than internal filters as they tend to be bigger and so can go for longer without needing maintenance.
Do
Check your filter regularly
Keep the inlet clear of debris
Don’t
Clean your filter media in tap water – this can kill the good bacteria you’ve carefully nurtured
Daily checks for your aquarium filter
You can do quick visual checks every day by looking for movement at the surface of the water, seeing if plants are moving in the flow etc. A quick glance at the filter inlet will tell you if something has got stuck in it, or if it’s clogged with algae or debris. Make sure all the pipes and fittings are still attached – boisterous fish have been known to knock spray bars off the end of the pipe!
Weekly checks and maintenance for your aquarium filter
As a minimum you should check the flow of the filter each week. Make sure it’s flowing as it should be and hasn’t reduced. Apart from the potential for water quality problems a filter which is struggling to pull water through may get overheated, or if flow has reduced to a trickle it may even be running dry which can damage the filter. You can see what the flow looks like when you do your weekly water changes if you’re able to lower the water level enough to go below the filter outlet (where the water comes back into the tank from the filter). You can also hold your hand over it and feel how strong the flow is.
Clean the inlet cage of any grot and debris to make sure water can easily flow into the filter. A brush around the outside of it should be sufficient for normal maintenance. If you have a prefilter e.g. a sponge around the inlet, take this off and give it a rinse in some old tank water.
You should also check the outside of the canister for any signs of leaks such as drips or water marks, or any dampness in the cupboard or wherever the filter is kept.
Cleaning your aquarium filter
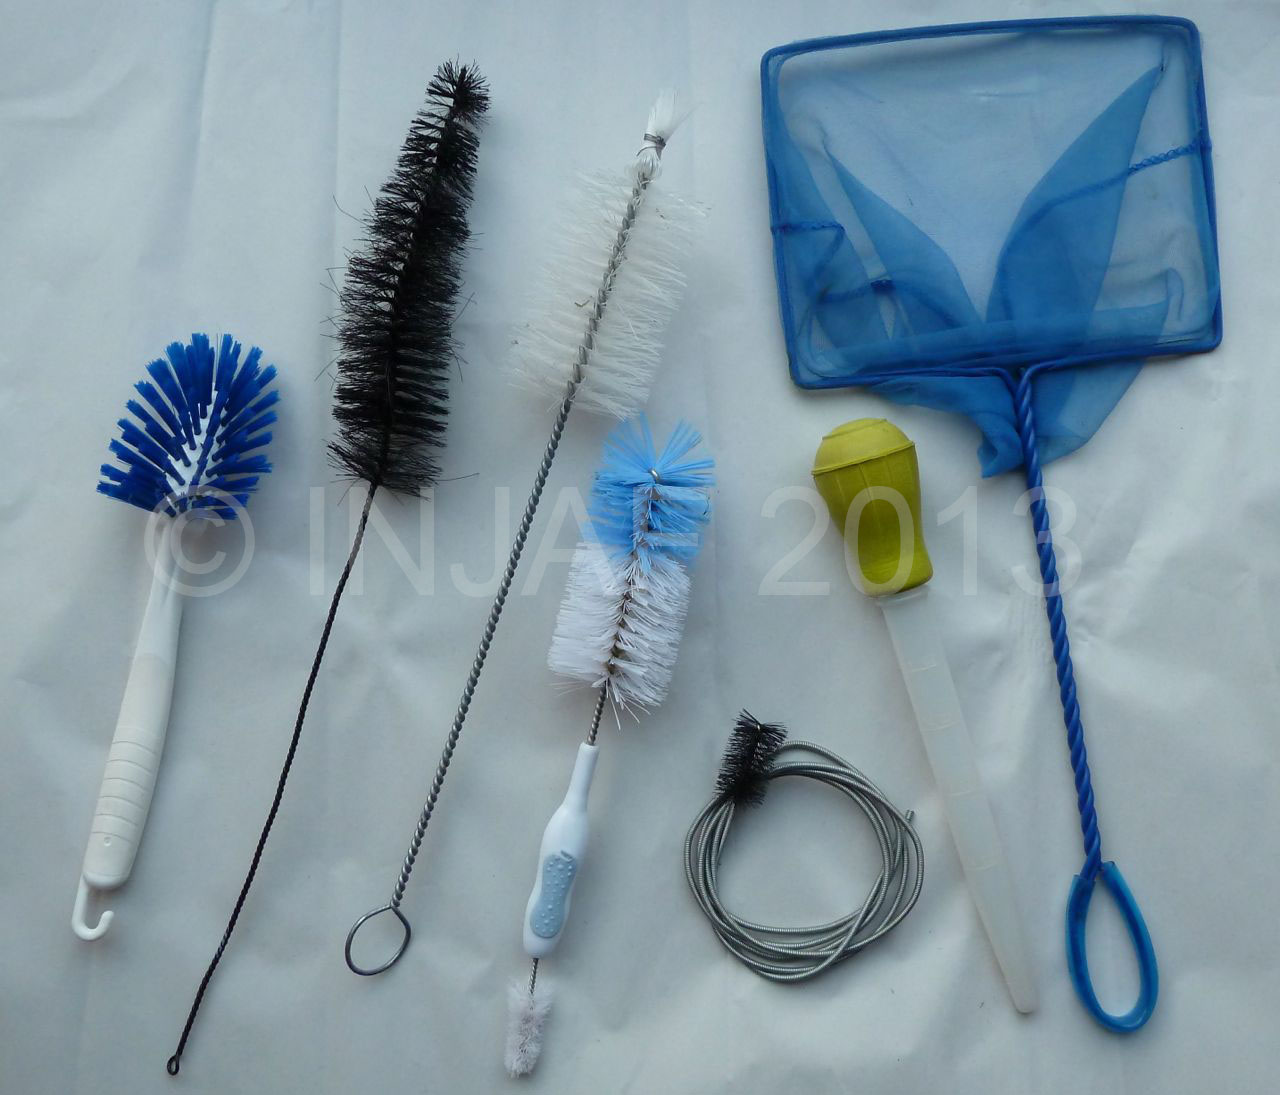
We’re not going to specify how often you should clean your filter as there is too much variation to give a one size fits all answer. As mentioned above, keeping a check on flow is probably the easiest method of gauging when it needs cleaning. A selection of brushes will be useful for getting into the nooks and crannies of your filter.
Before you disassemble your aquarium filter
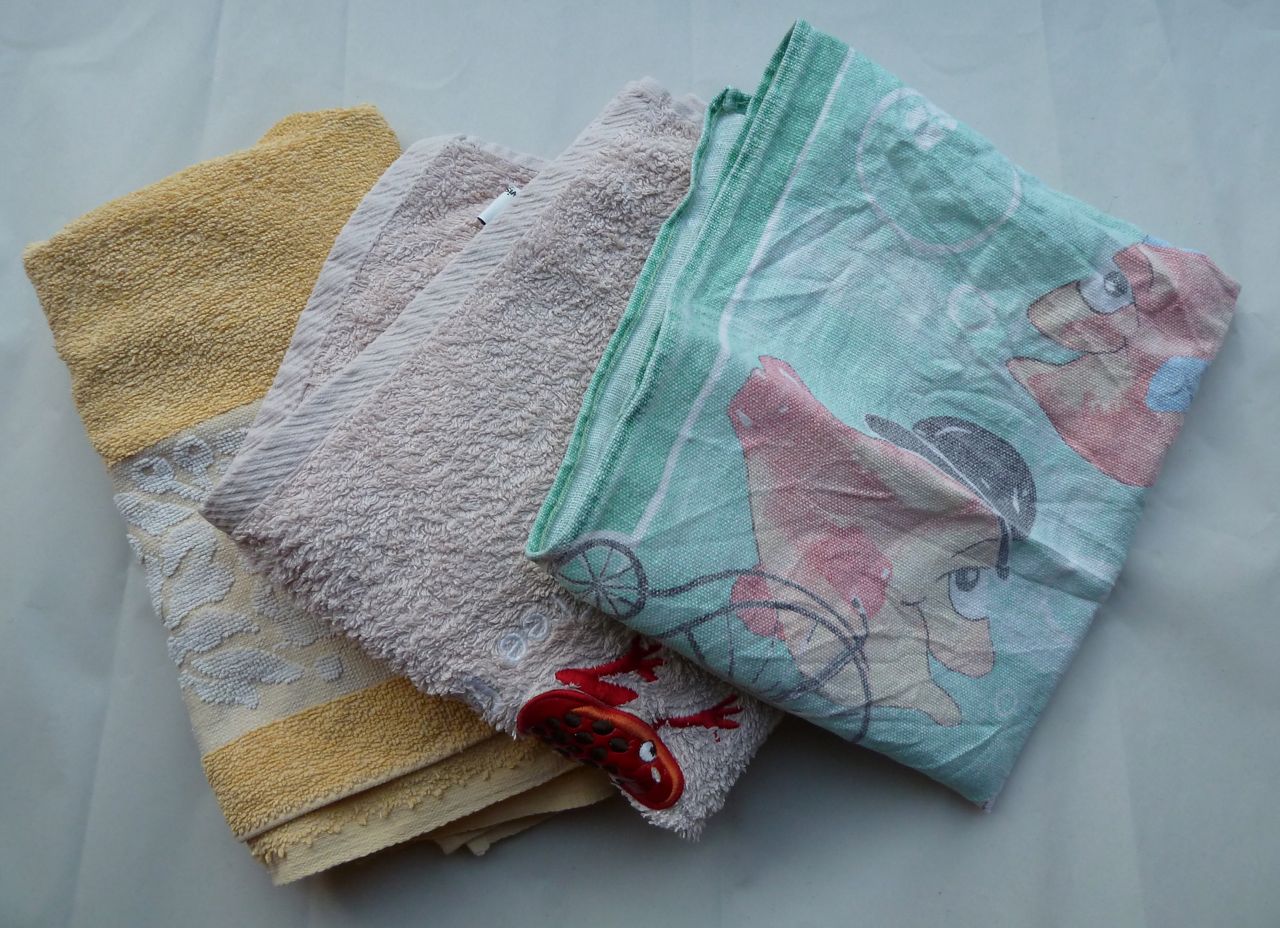
Get a supply of old towels or tea towels at hand! You can be sure you’ll need one when it’s out of reach! If you’re prone to being a bit splashy then some plastic sheeting on surrounding floors can save making a mess on carpets and floorboards. Turn off the power to the filter and make sure you’ve disconnected the plug from the power socket – electricity and water are not a good combination! Turn off any UV sterilisers that run inline with the filter. This is a safety precaution as many models of inline UVs should not be on while there is no water in them.
To clean internal aquarium filters
Remove the filter from the aquarium and place in a bucket. Disassemble the filter so you can get at the media and impeller. Clean the media by giving it a good swish and squeeze in some old tank water. Use a small brush, sponge, or bit of filter floss to clean the impeller, the impeller housing and filter housing. Use a small brush etc. to clean out inlets and outlets.
Reassemble and replace in the aquarium. Internal filters should fire up as soon as you turn the power on. In the event that one doesn’t, turn off the power, make sure the inlet and outlet aren’t blocked, take it apart and make sure everything is properly in place. Give the impeller a turn or two to ensure it’s turning easily. Reassemble and replace in the aquarium and turn the power on again. If this doesn’t work you may need to refer to the manufacturer’s user manual for further trouble shooting.
To clean an external aquarium filter canister and media
Disconnect the hoses from the canister – you may need a tea towel at hand to catch any drips as it disconnects. Take the canister to wherever you’re planning on cleaning it – in the middle of your best cream carpet probably isn’t the ideal place! On a nice day you can take them into the garden and make as much mess as you like!
Unclip the lid from the canister. Take the media out and place it in a bucket. If it’s in trays or baskets you can leave it in the trays and just take them out of the filter with the media still in them.
To clean ceramic media you just need to swish it around in some old tank water. How best to do this depends on the size of the filter – for bigger ones you may find a large plastic garden trug is useful. Fill this with some old tank water and swish everything around in the trug. Smaller filter baskets are likely to fit in a bucket though. If it’s a bit grotty it might help to stir the ceramics about with a clean washing up brush or similar.
To clean sponges simply squeeze them in some old tank water until they’re as clean as possible, they don’t need to be sparkling!
Give the media baskets/trays a quick brush or wipe with a sponge if they’ve still got debris on them.
Evict any snails, shrimp or fry from the filter, or from the water you’ve poured out of it – see the video below!
Remove the impeller and use a small brush, sponge, or bit of filter floss to clean the impeller and impeller housing. Use a small brush etc. to clean out inlets and outlets.
Make sure all seals are clean; you may wish to smear the seals and any o-rings with a little silicon grease (not Vaseline!) to aid the filter going back together easily.
Reassemble everything, reconnect the filter canister to the pipes, prime the filter if necessary and turn the power back on once the canister has filled with water. If the filter canister won’t prime i.e. fill with water ready for powering on, check out Jeroen’s video for a quick tip to solve this.
External filters should fire up once the canisters are filled and the power is turned on. If it doesn’t, follow the process detailed above for internal filters as your first check. If it still doesn’t start, or makes a nasty rattling noise, then it’s likely it hasn’t primed properly and has air in it somewhere – check out the video below and make sure your filter is fully primed with no air locks in the tubing. Happily, gravity and the laws of physics are your friends – your filter will prime once you get the knack of dealing with it.
Some external filters have a priming button which you use as a pump to pull water into the filter and set off the flow of water into the canister. These are great if your tubes are empty of water but if the tubes have water in them, or you have particularly long tubes e.g. you’ve got an inline UV, then experience says they don’t always have enough ‘oomph’ to get the flow going. But don’t despair, as said above there are ways and means of getting a filter primed even if it’s being reluctant!
Just a word of caution on sucking the tube to start the siphon process – if you have sick fish or any medication in the tank DO NOT do this as it can result in a nasty stomach upset if you accidentally swallow any water! If you’re not happy about giving it a suck you can get siphon starter bulbs which are little rubber bulbs you squeeze to get the water flowing. You can often get the flow going just by lowering the pipe to the ground.
If the tubing is a bit gunky it can reduce the flow of water through the filter. To clean the tubing, remove it from the aquarium and take it outside or to a sink. Jeroen uses a homemade cleaning device, but there are commercially available devices too. These are brushes fixed to the end of long wires which you can push through the tubing to get it clean. Pass your cleaning device through the tubing a few times and rinse it through to get all the loosened gunk out.
How to clean a filter, by Jeroen Wijnands (reproduced under Creative Commons by kind permission of Jeroen).
httpss://www.youtube.com/watch?v=B9uBQYnM5gU
(it’s not a method specific to the Dutch, just that Jeroen is Dutch!)
How long do I have before the bacteria starts dying off?
Don’t panic if your filter maintenance is taking a while. Keep the media damp and the bacteria will happily survive well beyond the time it’s taking you. Filter bacteria have been known to last many hours without a flow of water, this is not to say you can take several days over cleaning your filter, just that you don’t need to panic after half an hour.
How often should I change the filter sponges and ceramics?
Despite implications to the contrary, filter sponges can last for many years. If the sponge starts to lose shape, break down, or is so clogged that despite your best efforts it’s not coming clean then it’s time for a new one. Don’t replace all the media at once though as this will remove all the bacteria that live in your filter. Sponges can be cut in half and replaced in two sections with a few weeks in between each swap. Filters with more than one sponge can have one replaced at a time. Ceramic media rarely needs replacing, however, if it’s very old or becoming very clogged, then you can replace it a bit at a time. Many fishkeepers have ceramic media that’s several years old!
Filter floss should be replaced more frequently though. This is the fine, usually white, filter wool or floss which is the last thing the water passes through before going back to the tank. It’s very difficult to get this clean so it should just be replaced when it’s dirty.
Some filters come with special cartridges to remove ammonia. If you have one of these you may be able to remove it and not replace it – but be aware that many filters which have these do so because the filters are quite small for the volume of water they are sold for, and the cartridges are often a bit of a backup if the filters are actually too small for the tank they’re sold with.
Nitrate removing media will need replacing as directed by the manufacturer, as will anything to remove phosphate.
Activated carbon is often used to give water an extra ‘polish’ but isn’t necessary as a matter of course. It can be used to remove medications from the water. Contrary to popular belief it doesn’t suddenly dump everything it’s adsorbed back into the water once it gets ‘full’. It just stops adsorbing anything. Note the difference between absorb and adsorb – from Google:
Absorb: verb
Take in or soak up (energy or a liquid or other substance) by chemical or physical action – “buildings can be designed to absorb and retain heat”
Adsorb: verb
(of a solid) hold (molecules of a gas or liquid or solute) as a thin film on the outside surface or on internal surfaces within the material – “the dye is adsorbed on to the fibre”
What order should the media go in my aquarium filter?
All filters should have a user guide with them, if yours is second hand or you’ve misplaced the instructions then Google is your friend as most manuals etc. can be found online. The way the water flows through the filter is the key to understanding what order to put the media in. The coarsest media such as coarse sponges or big ceramics should be the first thing the water sees, then medium sponges/finer ceramics, then fine sponges or floss. Any carbon or chemical media such as nitrate reducing media should come last to help keep it as clean as possible and last as long as possible.
And finally …
Unless something is broken, your filter won’t be able to resist the laws of gravity and physics. If you’re having trouble getting it started don’t despair. Take a deep breath and a step back then try again. It can be frustrating and worrying but bacteria will last several hours and you have plenty of time to find user guides online and ask for help on one of our recommended forums.
Once you’re done, it’s time for a nice cuppa while you admire the fruits of your labours.

Author: Suzanne Constance
Video: Jeroen Wijnands under Creative Commons.


